Regular maintenance not only ensures optimal performance but also extends the lifespan of your mechanical keyboard.

Here are some practical tips for cleaning your mechanical keyboard:
1. Power Off and Disassemble
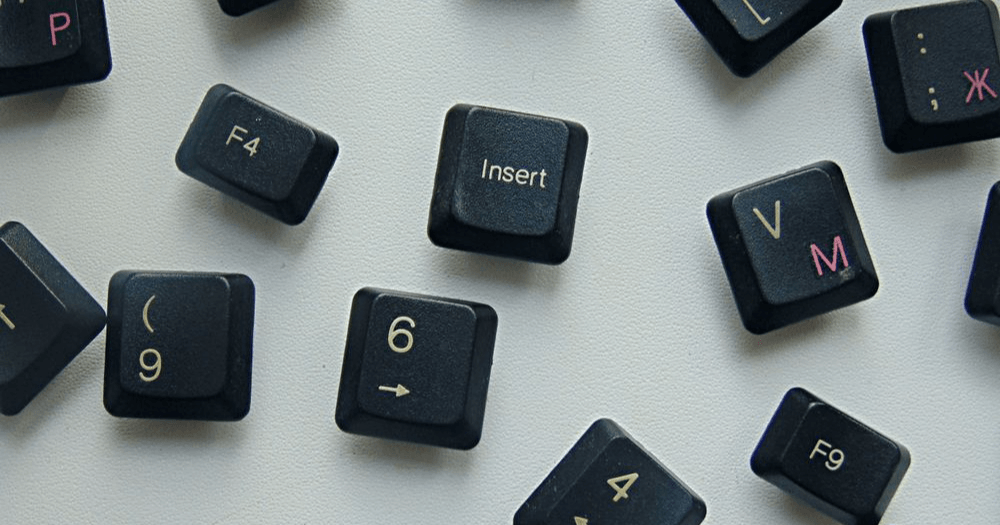
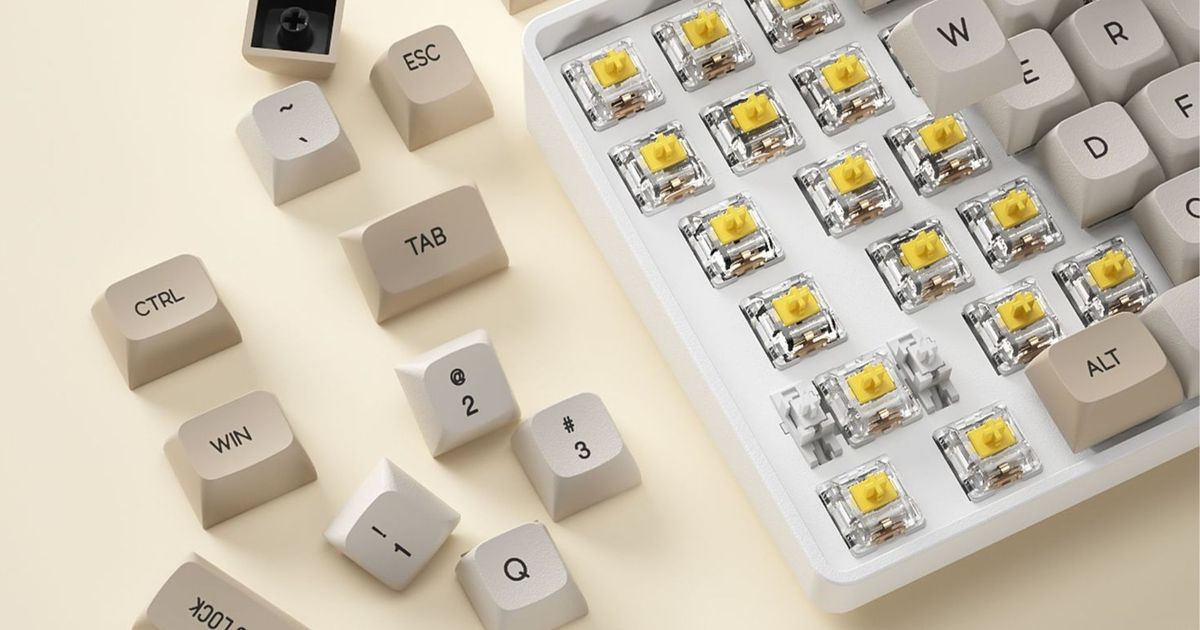
Before starting, make sure to power off your keyboard and carefully remove the keycaps. This will allow you to access and clean both the surface and internal parts of the keyboard more effectively.

2. Use Compressed Air
Use a can of compressed air or an air blower to remove dust and debris from the keyboard. Spray the air between the keys to dislodge particles trapped in tight spaces.

3. Choose the Right Cleaner
Opt for a cleaner that is safe for use on mechanical keyboards. Gently wipe the keyboard surface with the cleaner and use a soft, dry cloth to remove any residue.
4. Clean the Keycaps
Soak the keycaps in soapy water for a thorough cleaning. After soaking, gently scrub them with a soft brush, rinse, and ensure they are completely dry before reattaching them.
5. Check the Interior
If you’re comfortable, open the keyboard casing and inspect the internal components. Remove any dust or debris, but handle the internal parts with care to avoid damage.
6. Establish a Regular Cleaning Routine
Frequent cleaning prevents the accumulation of dirt and keeps your keyboard in top shape. Make it a habit to clean your keyboard every few weeks or as needed.

7. Avoid Harsh Cleaners
Ensure the cleaning solution you use is safe for keyboards. Avoid alcohol-based or overly abrasive cleaners, as they may damage the keyboard's surface or internal parts.
8. Keep It Dry
After cleaning, make sure your keyboard is completely dry before reassembling and using it. Moisture can harm both the mechanical switches and electronic components.
By following these steps, you can maintain the performance and appearance of your mechanical keyboard, ensuring it stays in great condition for years to come. Regular care goes a long way in keeping your keyboard clean and functional!


