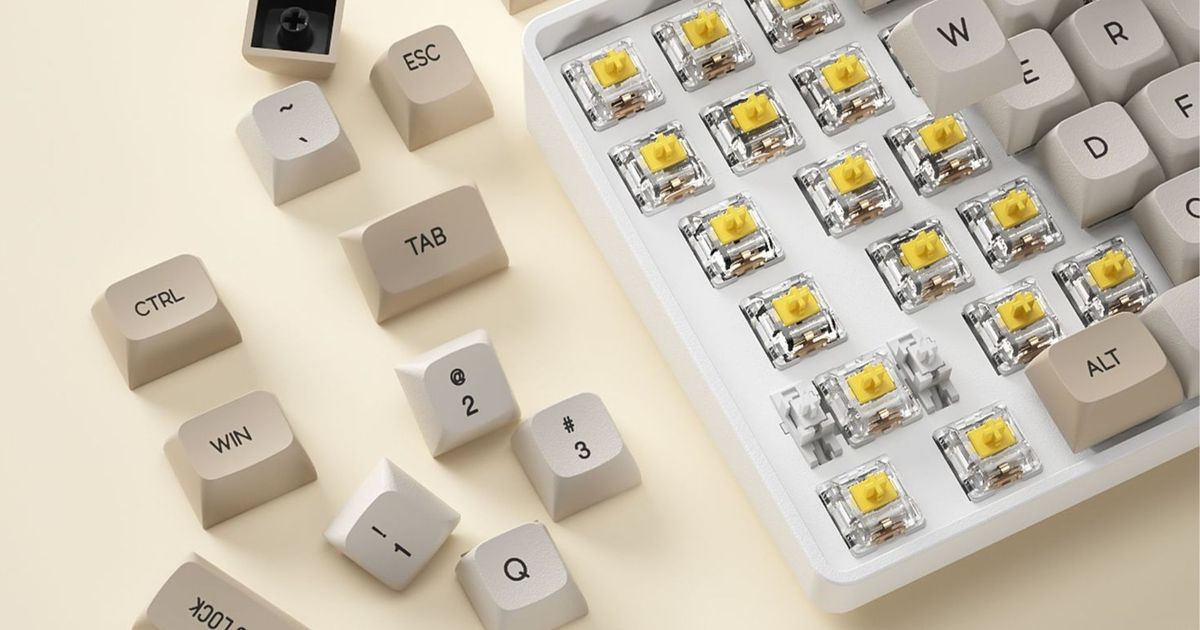
Replacing the switches on a mechanical keyboard can seem daunting for beginners but is manageable with the right tools and steps. Here's a simple guide to help you replace faulty switches or swap to a different type of switch:
Materials Needed
Replacement switches
Switch puller tool

Step 1 | Prepare the Keyboard
Disconnect the keyboard from any power source or unplug it to ensure safety during the process.

Step 2 | Remove the Keycaps
Use a keycap puller to gently remove the keycaps.
Spread the metal wires on both sides of the puller.
Insert the wires into the sides of the keycap, ensuring they grip securely.
Pull upward gently to remove the keycap.
*Tip: Avoid excessive force to prevent damage to the keycap or switch.

Step 3 | Remove the Switches
Use a switch puller to remove the existing switches:
Slightly spread the puller's edges and align them with the grooves on the top and bottom of the switch.
Clamp the switch and pull upward to remove it.

Step 4 | Install the New Switches
Align the replacement switch with the socket on the keyboard PCB.
Gently press the switch into place.
*Note: Ensure the pins on the switch are correctly aligned and undamaged. Most switches have anti-mistake designs to help with proper installation.

Step 5 | Reattach the Keycaps
Align the keycap’s cross-shaped hole with the switch stem.
Gently press the keycap down until it snaps into place.

Step 6 | Test the Keyboard
Plug the keyboard back in and test all keys to ensure proper functionality.
Check for any unusual sounds or unresponsive keys and address any issues if necessary.
By following these steps, you can successfully replace mechanical keyboard switches, whether you're fixing faulty ones or upgrading to a new type of switch. With practice, this process becomes straightforward, allowing you to customize and maintain your keyboard with ease.


