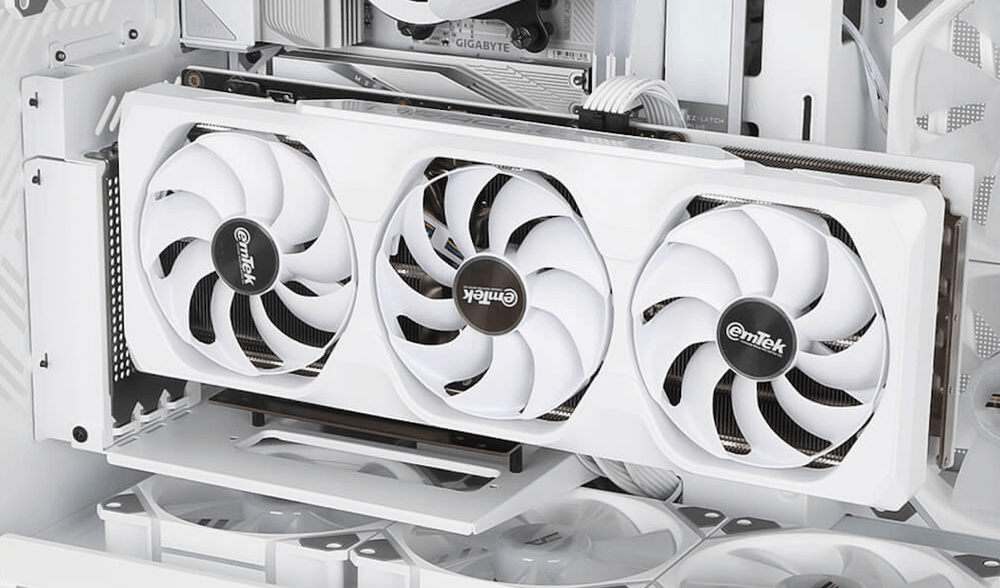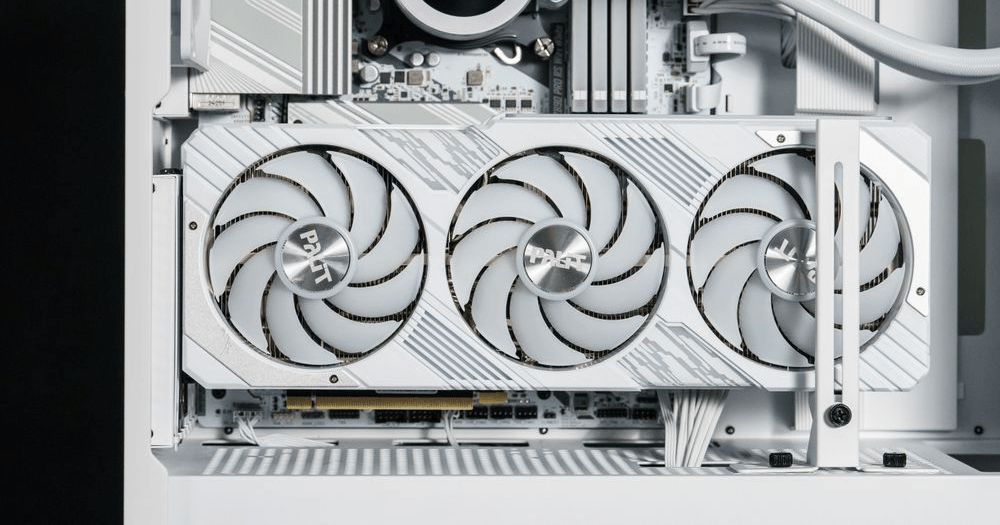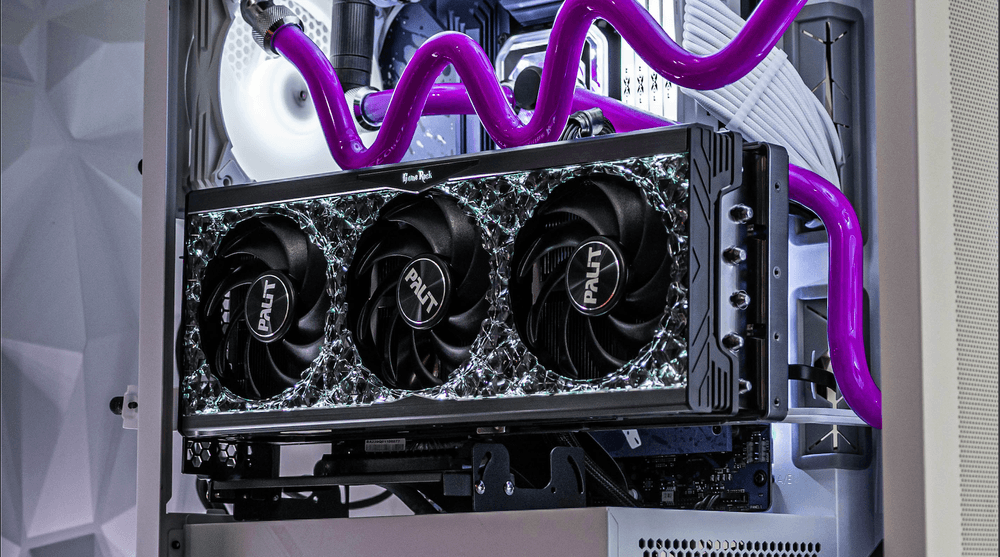
A graphics card vertical stand kit is designed specifically for installing the graphics card vertically. Not only does it allow for showcasing your graphics card, but it also helps to significantly reduce the risk of deformation caused by the weight of the card. Below are key points to consider when choosing a vertical stand kit and instructions on how to install it.
| Key Points for Choosing a Graphics Card Vertical Stand Kit |
Extension Cable Interface
In addition to ensuring the vertical stand is compatible with your case, the included PCIe extension cable interface is also a critical factor. Choose a stand that comes with a PCIe 4.0 ribbon cable. According to Intel's official data, PCIe 4.0 data transfer speeds are twice as fast as PCIe 3.0, so even when using an extension cable, there will be minimal performance loss.
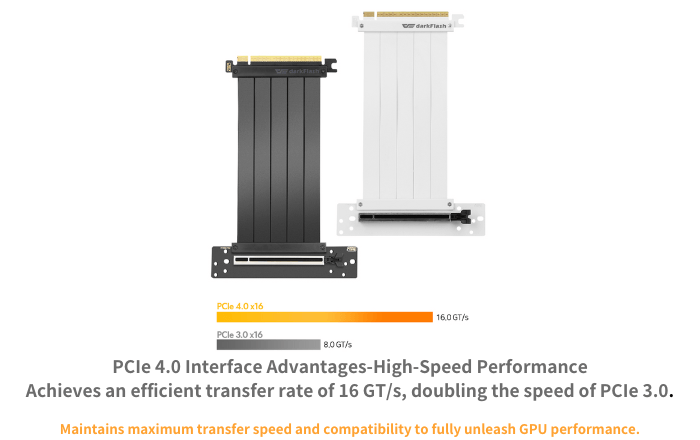
Extension Cable Length
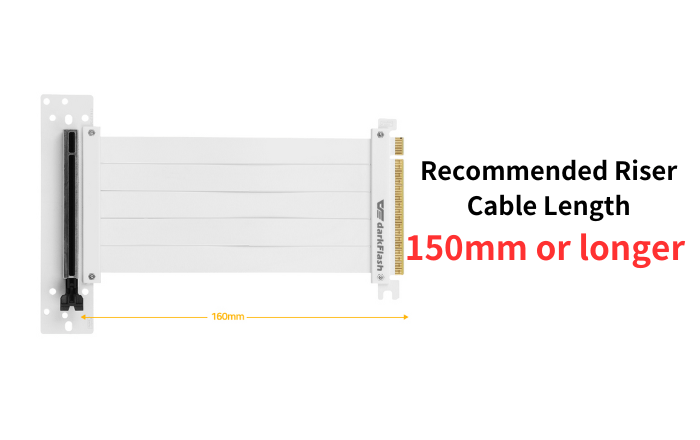
The length of the extension cable should be selected based on the size of your case. For medium-to-large cases like the DY470, it is recommended to choose an extension cable that is 150mm or longer.
Case Compatibility
Before purchasing a vertical stand kit, it is advisable to check whether your case supports a dedicated vertical graphics card mount. If your case does not have this feature, you can opt for a universal vertical stand kit.
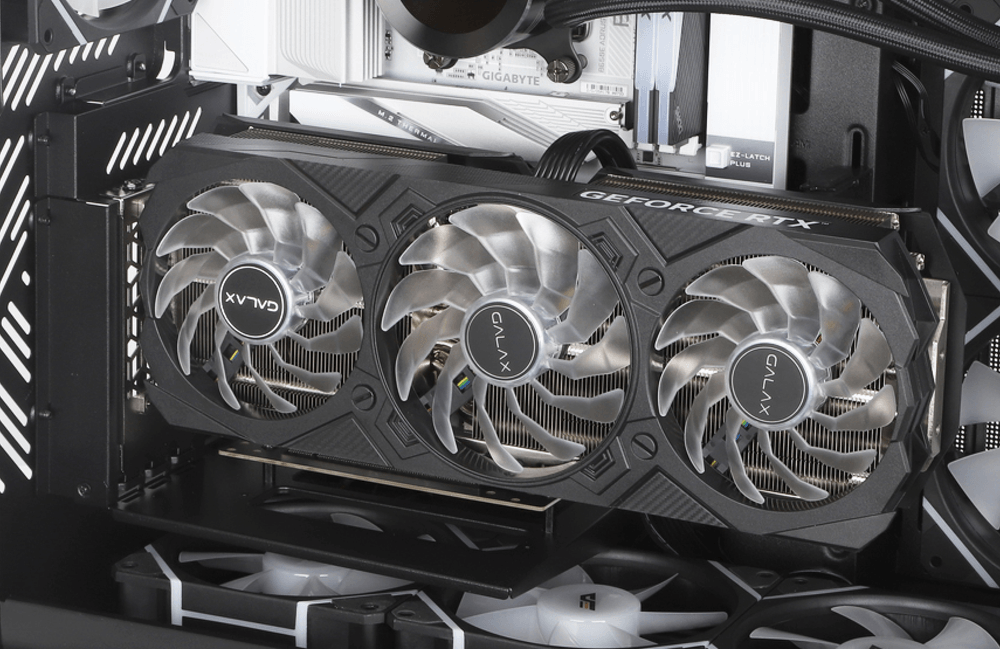
| How to Install a Graphics Card Vertical Stand Kit | (Using the DY470 Dedicated Stand Kit as an Example)
*Note: Installation methods may vary depending on the manufacturer, so always refer to the instruction manual when installing.
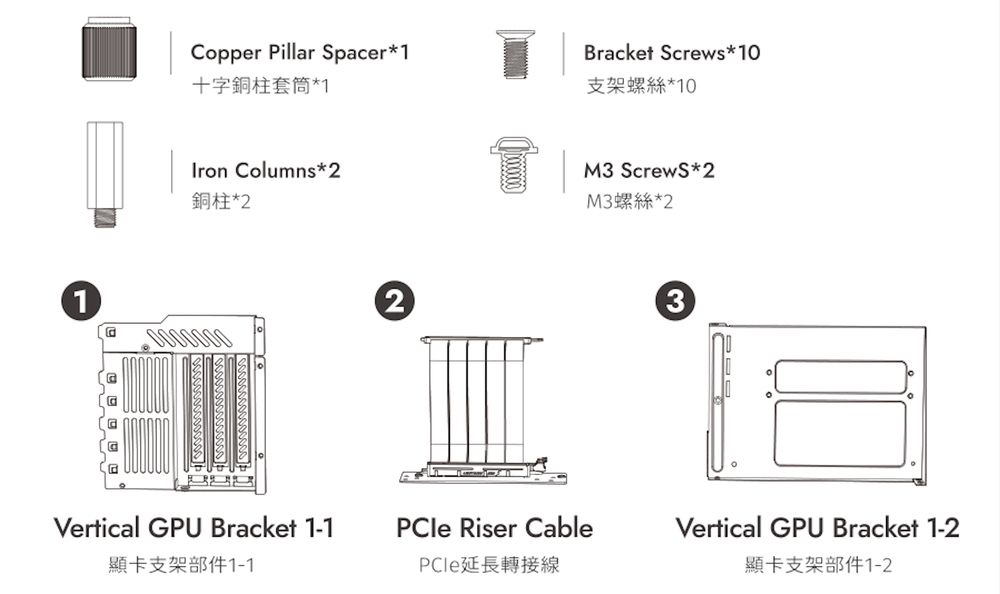
Preparation Stage | Required Components
1 x Copper Pillar Spacer
10 x Bracket Screws
2 x Iron Columns
2 x M3 Screws
1 x Vertical GPU Bracket (1-1)
1 x PCIe Riser Cable
1 x Vertical GPU Bracket (1-2)
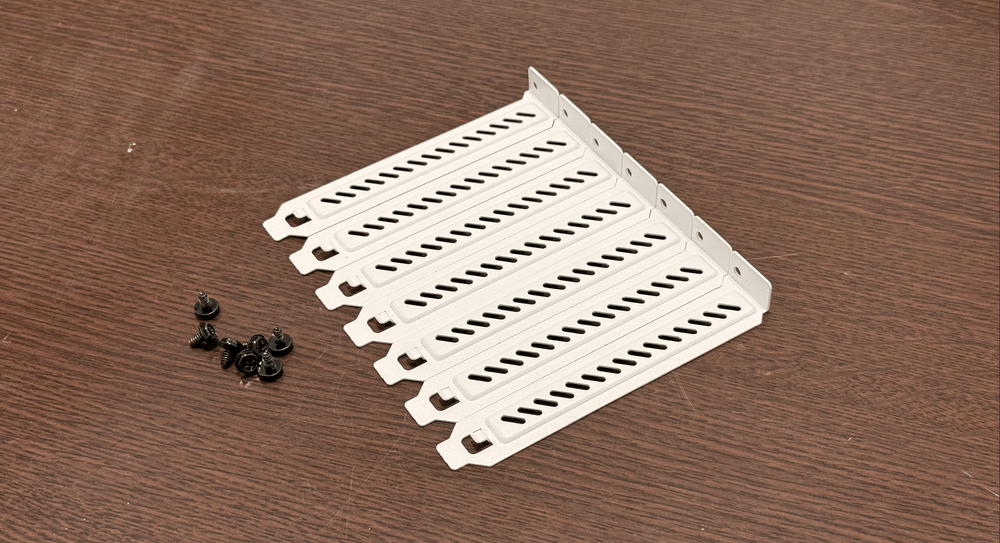
Step 1 | Remove the Rear I/O Shield
Remove the I/O shield from the rear of the case.
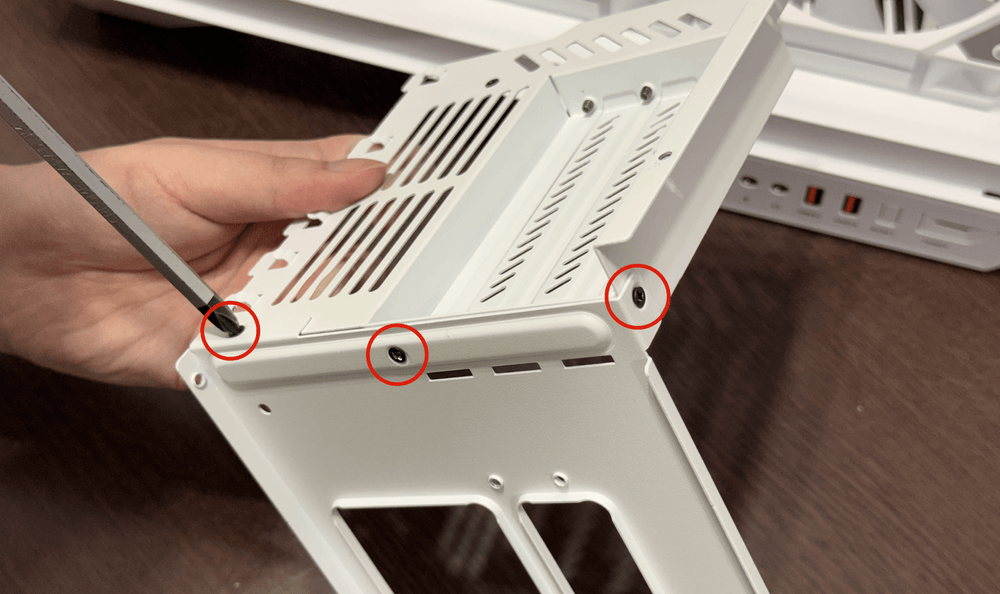
Step 2 | Assemble the Vertical Stand
Attach components (1-1 & 1-2) and secure with 3 stand screws.
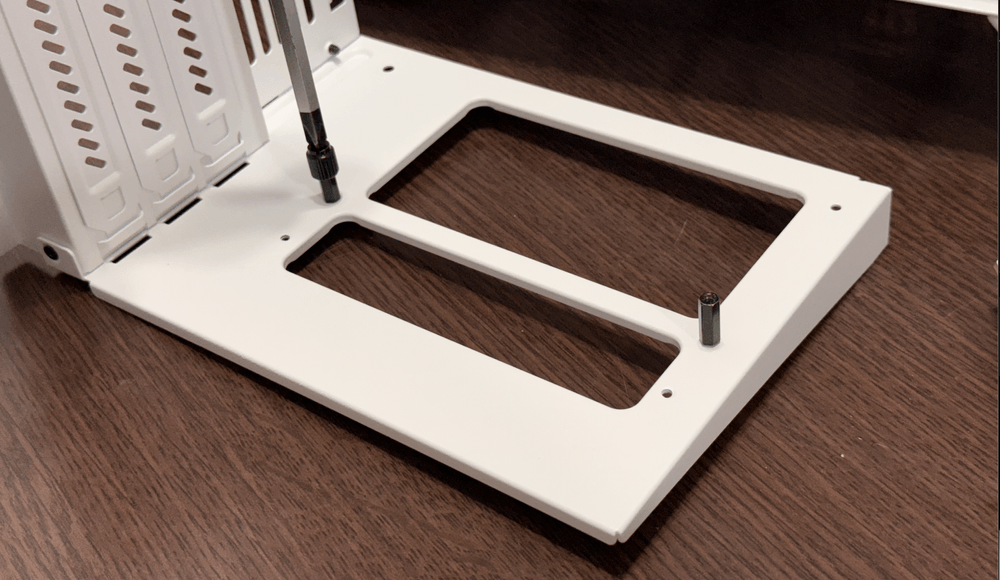
Step 3 | Attach the Copper Pillars
Install the 2 copper pillars using the sleeve tool.
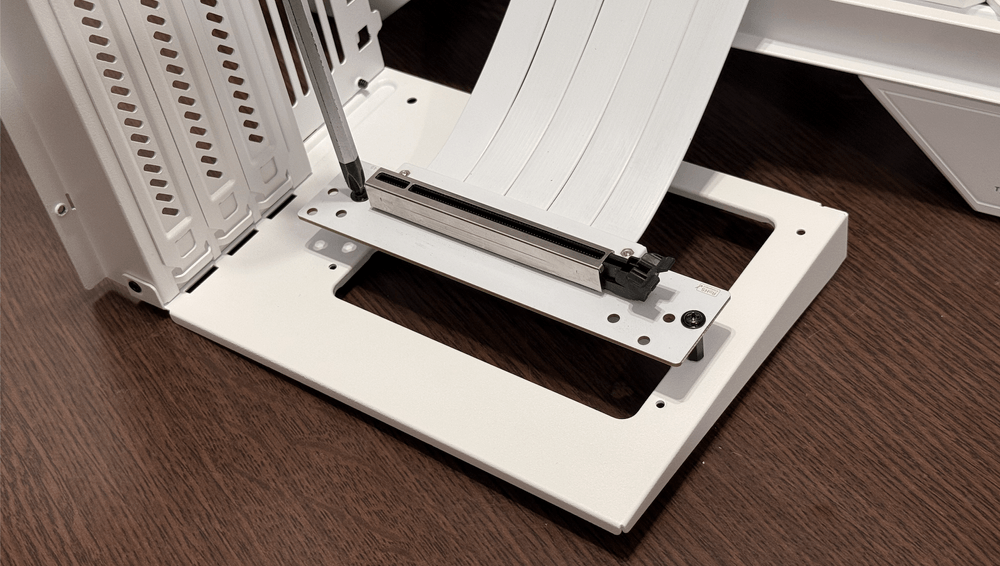
Step 4 | Attach the Extension Cable
Secure the extension cable to the vertical stand using 2 M3 screws.
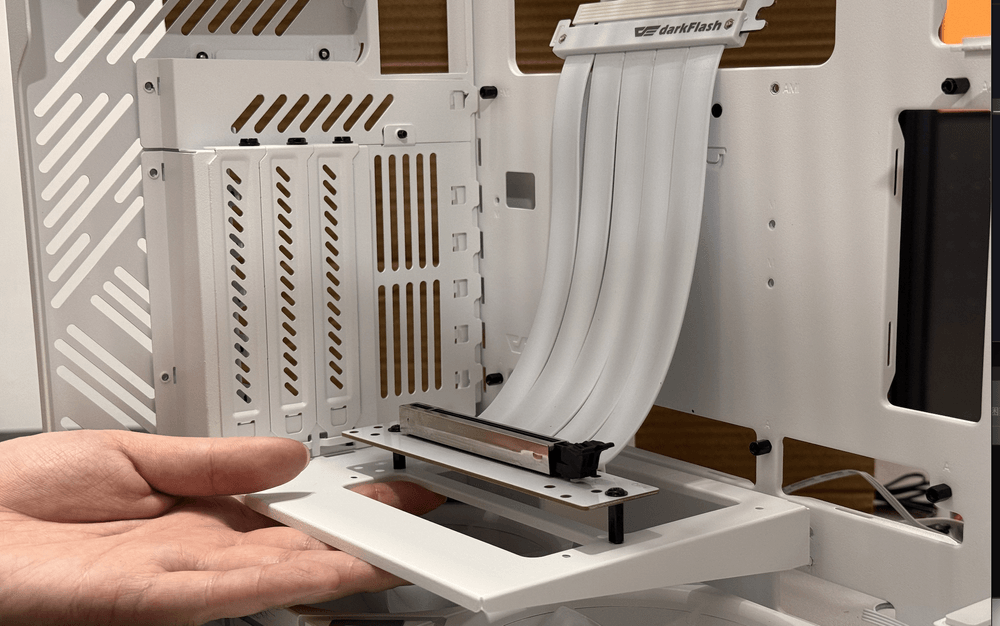
Step 5 | Install the Stand Kit into the Case
Insert the stand kit into the I/O slot.
Step 6 | Secure the Rear I/O Slot
Tighten the 3 screws (stand screws) at the rear of the case to secure the I/O slot.
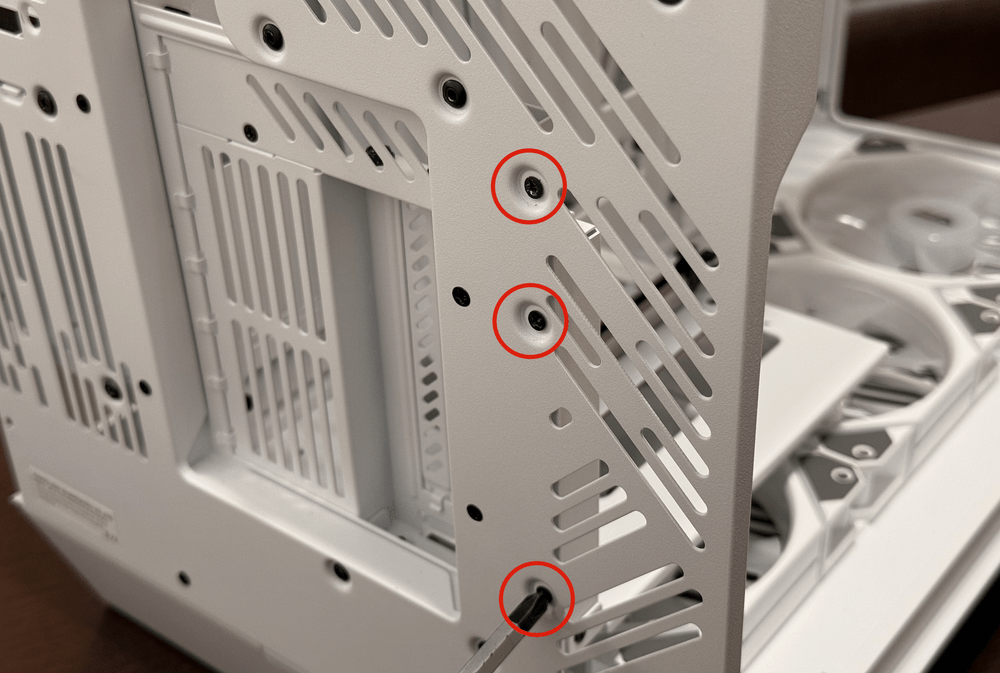
Step 7 | Secure the Power Bay Screws
Tighten the 3 screws in the power bay to reinforce the vertical graphics card stand.
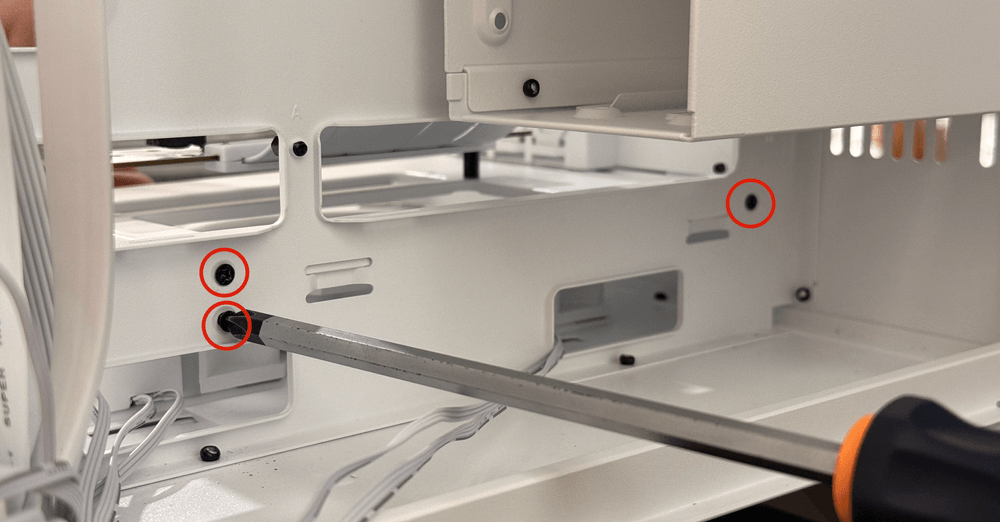
Step 8 | Complete the Installation
The installation is now complete.
